How to Draw Water?
Learning how to draw water can be a challenging yet rewarding skill for artists, as it involves mastering the intricate details of reflection, movement, and transparency to capture the fluidity and depth of this natural element. Whether it’s calm, splashing, or turbulent, water interacts with light and objects in ways that make it difficult to capture accurately. However, with the right techniques and a bit of practice, drawing water can become an enjoyable and rewarding process. So, how to draw water?
To draw water, start by observing its reflections, texture, and flow in your reference image. Use light pencil strokes to sketch the outline, add shading for depth, and blend to create smooth transitions. Incorporate details like ripples and highlights for a realistic effect.
In this article, we’ll dive into how to draw water, breaking it down step-by-step to cover various states such as calm water, splashes, pouring water, and flowing rivers. We’ll also address common FAQs, offer tips, and explore materials that can enhance your water drawings.
How to Draw Water – Starting with the Basics
Learning how to draw water requires a careful observation of its characteristics. Water behaves differently depending on its state—calm, flowing, turbulent, or splashing. Capturing these differences is essential to creating realistic water in your artwork. Whether you’re a beginner or an experienced artist, the techniques in this guide will help you understand and draw water in its many forms.
What Materials Do You Need to Draw Water?
Before you begin drawing water, it’s important to gather the right tools. Here are some essential materials:
- Drawing Paper: Choose heavyweight paper with a smooth surface to achieve subtle blending and gradients.
- Graphite Pencils: A set of pencils ranging from H (hard) to B (soft) will allow you to create both light shadows and deep, dark tones.
- Shading Sticks: Essential for smooth blending of graphite and creating gradients.
- White Ink Gel Pen: Useful for highlighting areas where light reflects off the water’s surface.
- Kneaded Eraser: This flexible eraser is ideal for lifting graphite and adding highlights or light ripples.
- Reference Images: Use photographs of calm and turbulent water to study reflections, shadows, and light interactions.
How Do You Prepare to Draw Calm Water?
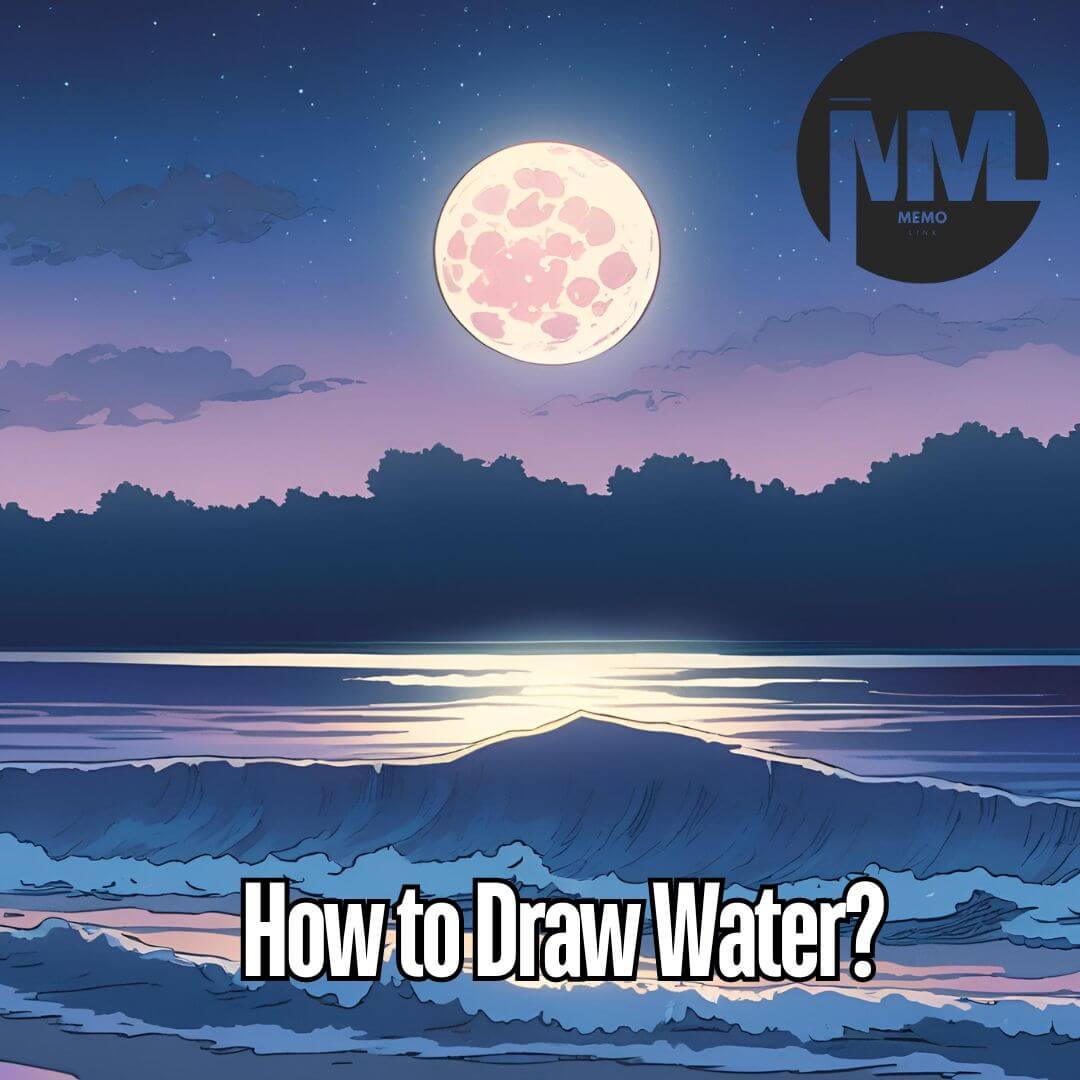
Drawing calm water starts with observing how light interacts with the water’s surface. Calm water often has subtle reflections and a smooth, undisturbed surface. Here’s how you can approach it:
- Study Your Reference Image: Look at how reflections and light behave on the water’s surface. The surface of a lake will reflect light differently than the ocean.
- Create a Light Sketch: Using an H-grade pencil, lightly outline the area of water on your paper. This serves as the framework for your drawing.
- Begin Shading: Gradually add shadows to your drawing using a B-grade pencil, starting with the darkest areas.
- Blend with Shading Sticks: Use shading sticks to create smooth transitions between light and dark areas, giving the illusion of calm, still water.
How Can You Capture Reflections in Calm Water?
Reflections play a key role in depicting calm water. Here’s how to ensure your reflections are accurate:
- Use Vertical Lines for Reflections: Vertical strokes are effective for drawing reflections on calm water. Make sure the reflection matches the general shape of the object being reflected.
- Sharpness of Edges: In calm water, reflections are well-defined. Keep the edges of your reflections clean and sharp to convey stillness.
- Add Highlights: Use a white ink gel pen to add highlights where light is bouncing off the water’s surface, enhancing the realism of the reflection.

What Techniques Should You Use to Draw Water in Motion?
Drawing water in motion, such as splashes or waves, requires a different approach. Here’s how to depict water in action:
How Do You Draw Splashes?
- Observe the Initial Impact: When an object hits water, it initially creates straight lines radiating from the point of impact.
- Create Arcs for Splashes: As water moves outward, the straight lines form arcs that reach toward the surface.
- Add Ripples and Bubbles: After the splash, small ripples and bubbles form around the disturbed area. Use a kneaded eraser to lift graphite and create these details.
How Do You Draw Pouring Water?
- Sketch the Pouring Stream: Begin by sketching the round, wavy side of the water stream. This will help define the shape of the falling water.
- Create Splashes at Impact: When water hits a surface, it splashes outward in various directions. Use arcs and curves to depict this motion.
- Draw the Wave After Impact: Water that has hit a surface begins to form a wave that rolls to the other side, creating loops and arcs in the process.
How Do You Draw Turbulent Water?
Turbulent water is characterized by distorted reflections and chaotic movements. To depict this:
- Use Horizontal Wavy Lines: These lines indicate the movement and distortion of reflections caused by turbulence.
- Distort Reflections: As turbulence increases, reflections become more distorted and hazy. Draw irregular, wavy reflections to capture this effect.
- Increase Reflection Distortion: The more turbulent the water, the more you should distort the reflections by adding more waves to your lines.
How Do You Draw Flowing Water?
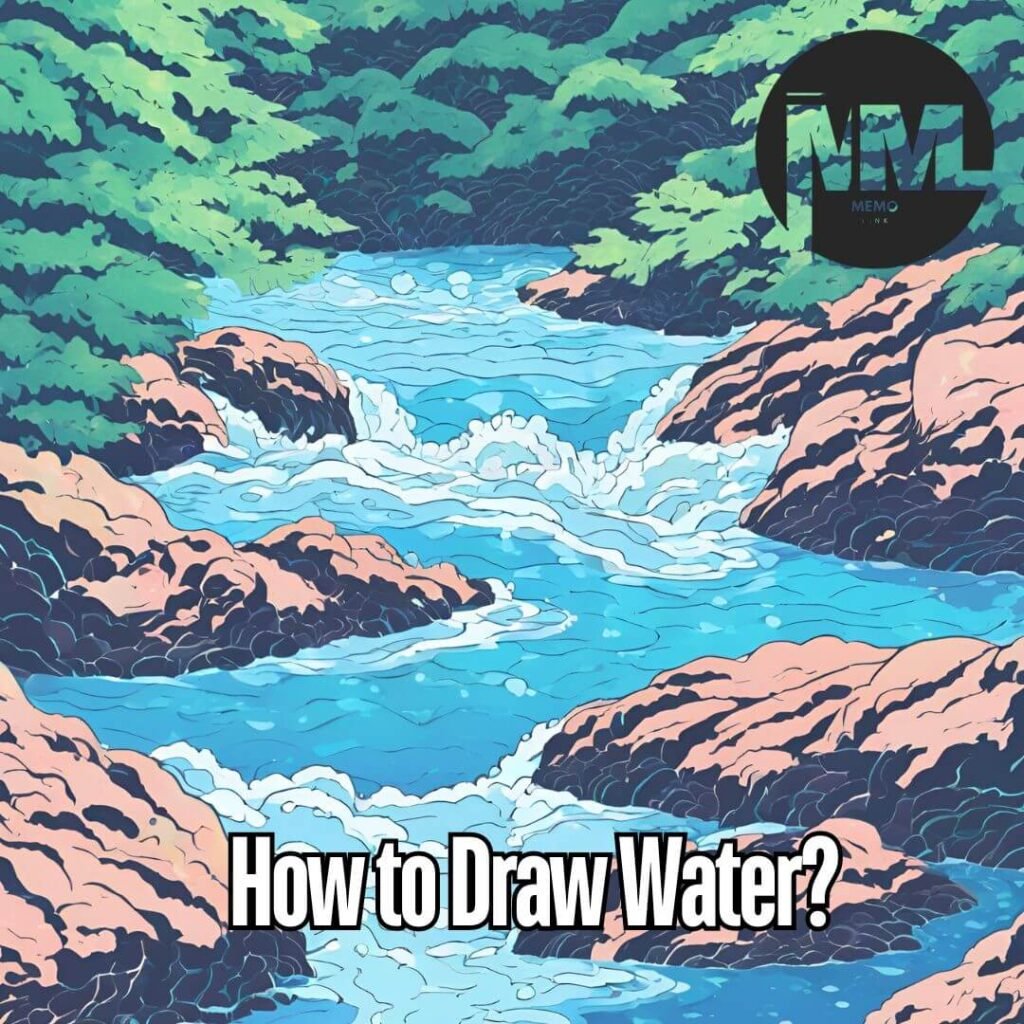
Flowing water, such as in rivers or streams, can be depicted with flowing lines that indicate direction and movement. Follow these steps:
- Use Flowing Lines: Draw flowing lines that follow the direction of the water’s movement.
- Add Ripples and Waves: Use small ripples near objects to show how water interacts with them, such as stones or posts in the river.
- Vary Ripple Strength: Ripples near objects should be darker and more defined, while those further away can be lighter and less distinct.
How Do You Draw Waterfalls?
Waterfalls are another challenging yet beautiful subject to draw. Here’s a simple approach:
- Use Vertical Lines for the Fall: Draw the water falling in straight, vertical lines to indicate the force of the water.
- Create a Flowing Stream: After the waterfall, use flowing lines to depict the continuation of the water as a stream or river.
- Add Splash and Foam: At the base of the waterfall, add splashes and foam to indicate the water’s impact.
How Can You Draw Water Using Colors?
Incorporating colors into your water drawings can dramatically enhance the realism and depth of the scene. Depending on the medium—colored pencils, watercolors, or digital tools—different approaches are needed to create the right balance of shades and tones.
For colored pencils, begin by lightly sketching the water’s surface with soft blues and grays. Gradually layer darker tones for shadows and use lighter shades like white or pale blue to indicate reflections and highlights. For watercolors, use wet-on-wet techniques to blur colors for a smooth, flowing effect that mimics the fluidity of water. Start by painting the lightest areas first, then add depth with darker hues. Don’t forget to consider the lighting of the scene, as it will dictate the color intensity and reflections.

What Are Common Mistakes to Avoid When Drawing Water?
Drawing water can be a challenging task, but avoiding common pitfalls can make a huge difference in the final outcome. One major mistake is overcomplicating the reflections. Many artists try to add too much detail to the reflections, but water reflections are often blurred and less defined than the objects themselves. Another frequent issue is drawing water too symmetrically—natural water bodies are irregular and dynamic.
Also, failing to observe how light behaves on the water’s surface can lead to unrealistic results. Water reflects light differently depending on its movement, depth, and clarity. Ignoring this can make the water look flat or cartoonish. Pay close attention to your reference material and ensure that the reflections, ripples, and distortions match the environment.
How to Use Digital Tools to Draw Realistic Water?
With the advancements in digital art tools, creating realistic water is easier than ever before. Programs like Adobe Photoshop, Procreate, or Corel Painter allow artists to use layers, brushes, and textures to build up realistic water scenes.
Start by using a custom water brush to draw the water surface, incorporating different opacities for transparency. Use a soft airbrush to add highlights and reflections, particularly in areas where light interacts with the water. You can also experiment with filters and blending modes to achieve the depth and natural fluidity that water requires. Adjust layer settings for more control over shading, highlights, and textures. The advantage of digital tools is that you can test different techniques without committing to one—undo and layer options make it easy to perfect your water drawing.
You may also like: Gordo Loco Net Worth
How Does the Shape of Water Change With Different Environmental Factors?
Water is highly responsive to environmental conditions, so the shape and movement of water change depending on elements such as wind, temperature, and surrounding objects. In calm weather, water appears smooth and reflective, whereas in windy conditions, the surface becomes more turbulent with small ripples and waves. These environmental influences are crucial to observe when drawing water in outdoor scenes.
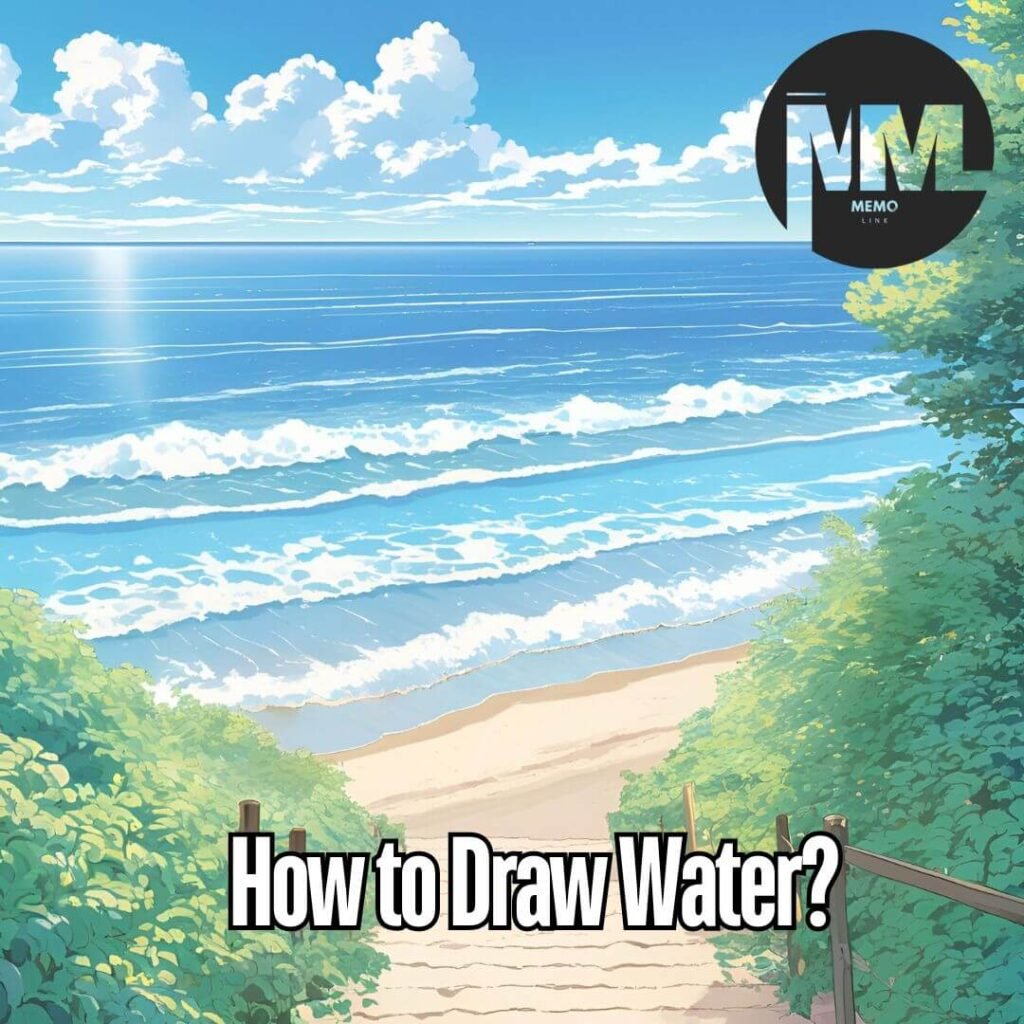
Furthermore, water near the shore behaves differently from water in the middle of a lake or ocean. Shorelines are often filled with foam, small waves, or debris, while the open water may display smooth undulations or subtle movements. When drawing, it’s important to recognize how the water’s shape is being affected by its surroundings, whether it’s the wind, an object, or another natural phenomenon.
How Can You Depict Water in Motion?
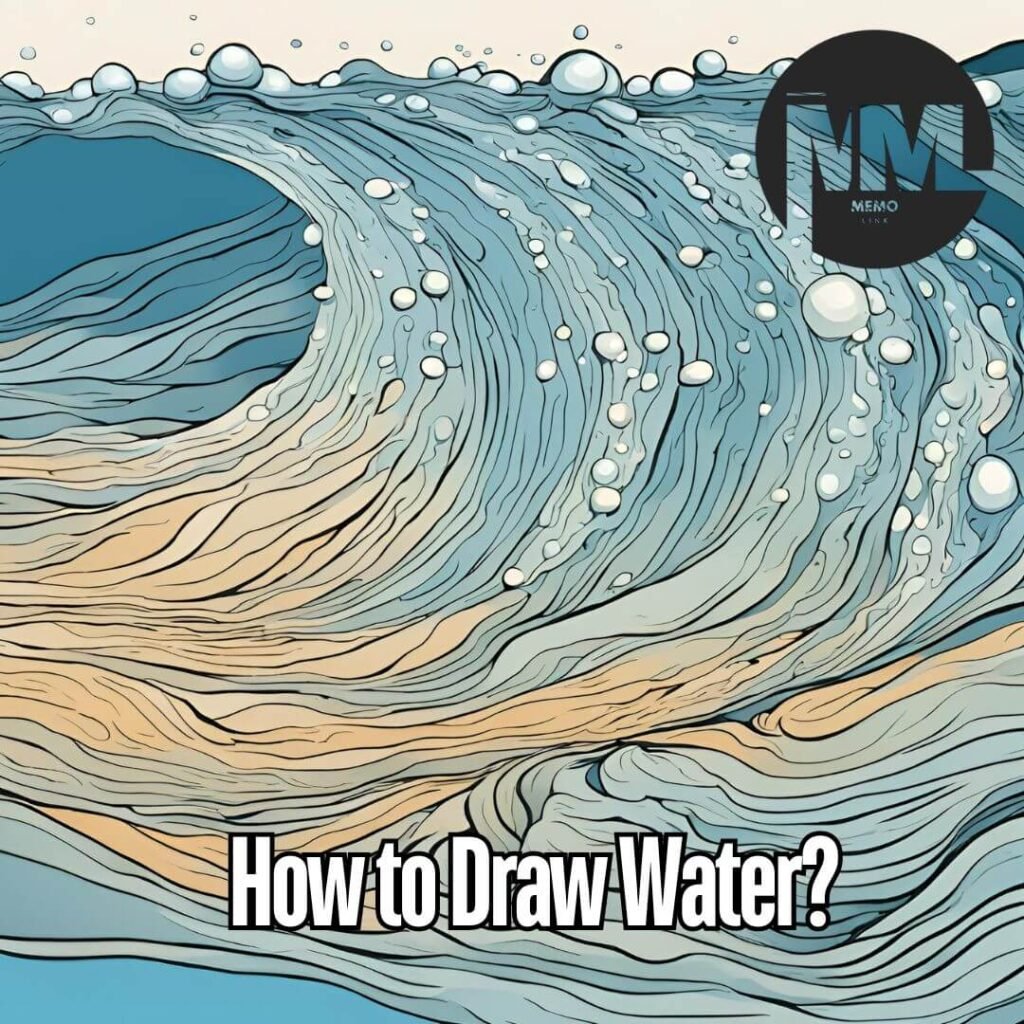
Water in motion, such as a flowing river or waterfall, adds dynamic energy to a drawing. The trick to capturing this movement is to break it down into simple shapes and lines. For example, flowing water can be illustrated with long, wavy lines that taper at the ends. Pay attention to the direction of the flow and ensure that the lines follow this path.
For waterfalls, start by sketching vertical lines to represent the falling water, but add a slight curve to suggest the water’s movement as it cascades down. Ripples and splashes should be drawn with irregular, circular shapes at the base to show where the water lands. For fast-moving rivers, use longer, curved lines that overlap to suggest rapid movement. Ensure the thickness of the water varies to give the impression of different water speeds.
How to Master the Technique of Adding Reflections in Water?
Reflections play a pivotal role in making your water drawings look realistic. Mastering this technique requires keen observation and understanding of how light interacts with the surface. For still water, reflections should mirror the objects above almost perfectly, with only slight distortions depending on the angle.
Begin by lightly sketching the mirrored image of the object on the water, adjusting the length and shape based on the proximity to the water. Use soft lines and smooth shading to depict reflections. When drawing turbulent water, make the reflected images wavy and less defined, using more distorted lines. You can achieve this by adding subtle horizontal lines across the reflection to give the impression of ripples breaking up the image.
What Role Does Texture Play in Drawing Water?
Texture is a crucial element when drawing water because it gives life and dimension to what would otherwise be a flat surface. Calm water may have a smooth, almost glass-like texture, while turbulent water can appear rough and jagged. To create texture, you can use different pencil pressures, cross-hatching techniques, or blending tools to manipulate the graphite on your paper.
In digital art, texture brushes or overlays can simulate the appearance of water. Using these textures adds more depth, making the drawing more visually interesting. For instance, in an ocean drawing, you may use texture to suggest the choppiness of the waves, while in a river scene, softer textures can depict the smooth flow of water.
How to Show Depth in Water Drawings?
Depth is one of the most important factors in creating a realistic water drawing. You can create a sense of depth by using perspective and shading techniques. For instance, objects closer to the viewer should have more detail and darker shading, while objects in the distance or below the water surface should be lighter and less defined.
To enhance the sense of depth, try using gradients in your shading—from dark to light—to represent areas where the water is deeper. In still water, this technique helps to suggest varying depths within a body of water. Additionally, including reflections and submerged objects can give the illusion of transparency, adding more dimensionality to your drawing.
What Are the Best Ways to Practice Drawing Water?
Practicing water drawings regularly will improve your technique and understanding of how to replicate this complex element. Start by drawing simple water forms, such as puddles or small waves, and gradually move on to more complicated scenes, like waterfalls or rivers. Observing real water, either through photographs or in person, can also help you understand how to capture the subtle nuances of light, reflection, and movement.
Create different challenges for yourself by drawing water under various lighting conditions—sunrise, sunset, or even nighttime scenes. Experiment with different types of water: calm, turbulent, flowing, or splashing. This diversity in practice will help you become more versatile in your ability to draw water in any scenario.
How Does Water Appear Differently in Different Art Styles?
Depending on the art style you’re working in, water can be depicted in many ways. Realistic styles require fine attention to detail, shadows, and reflections, while in more abstract or cartoon styles, water can be simplified into flowing shapes, exaggerated splashes, or solid colors.
In impressionism, water might be created with soft, short strokes to mimic the shimmering effect seen in nature, while in surrealism, the water might take on impossible forms or colors. Understanding how water behaves in your chosen art style allows you to push boundaries and express your creativity while still maintaining some level of believability.
How to Combine Water with Other Natural Elements in a Scene?
Combining water with other natural elements, like rocks, trees, or skies, can enhance the overall composition of a drawing. The interaction between these elements should be harmonious and reflect the natural environment. For example, rocks near a stream can be reflected in the water with slight distortion to show movement, while trees along a lake may cast a shadow that alters the light on the water’s surface.
Make sure to consider how these elements affect the water—does the tree provide shade? Does the rock create a ripple? Paying attention to these details will make your overall scene more cohesive and realistic.
Frequently Asked Questions FAQs – How to Draw Water
What is the easiest way to start drawing water?
Start by drawing calm water, which involves using smooth, horizontal strokes and focusing on reflections.
What materials do I need for drawing water?
Essential materials include drawing paper, a range of pencils, shading sticks, a kneaded eraser, and a white ink gel pen for highlights.
How do I draw realistic reflections in water?
Use vertical strokes to capture reflections on calm water, ensuring they match the general shape of the object being reflected.
How do I add highlights to water?
Highlights can be added using a white ink gel pen to capture where light is reflecting off the water’s surface.
What are the key techniques for drawing turbulent water?
Use wavy horizontal lines and distorted reflections to depict turbulence. Increase the distortion and darkness of reflections to indicate more turbulence.
How can I make splashes look realistic in my drawing?
Begin by drawing straight lines radiating from the point of impact, then transition to arcs as the water moves outward.
What is the best way to draw water falling from a height, like a waterfall?
Use vertical lines to indicate the fall and add splashes and foam at the base to show the water’s impact.
How can I improve my ability to draw water?
Practice by studying reference images of different types of water, including calm lakes, splashing waves, and turbulent rivers.
Can I use mixed media to draw water?
Yes, adding colored pencils or watercolor can enhance the realism and depth of your water drawings.
How do I capture the movement of water in a drawing?
Use flowing lines to indicate movement, varying the strength and direction of ripples and waves based on the water’s motion.

Conclusion: How to Draw Water?
Learning how to draw water takes time and patience, but by breaking it down into manageable steps and using the right techniques, you can capture water in all its forms. Whether you’re drawing calm reflections, turbulent waves, or dynamic splashes, observing how light interacts with water and practicing these methods will improve your skills. Remember to have fun and enjoy the process as you experiment with drawing different types of water.


